|
|
Post by S H A N A on Jun 10, 2007 2:28:01 GMT -5
Have you ever found the perfect image for an avatar or signature, but the quality was low aqnd you had to find a picture you didn't like as much? Well using this tutorial you can solve your problems. First, select your image. I chose this slightly pixelated picture of Gaara from Naruto:  Now, right click on the layer (there should be a menu on the right hand side, below the colour panel). A menu will come up. Click "Duplicate". 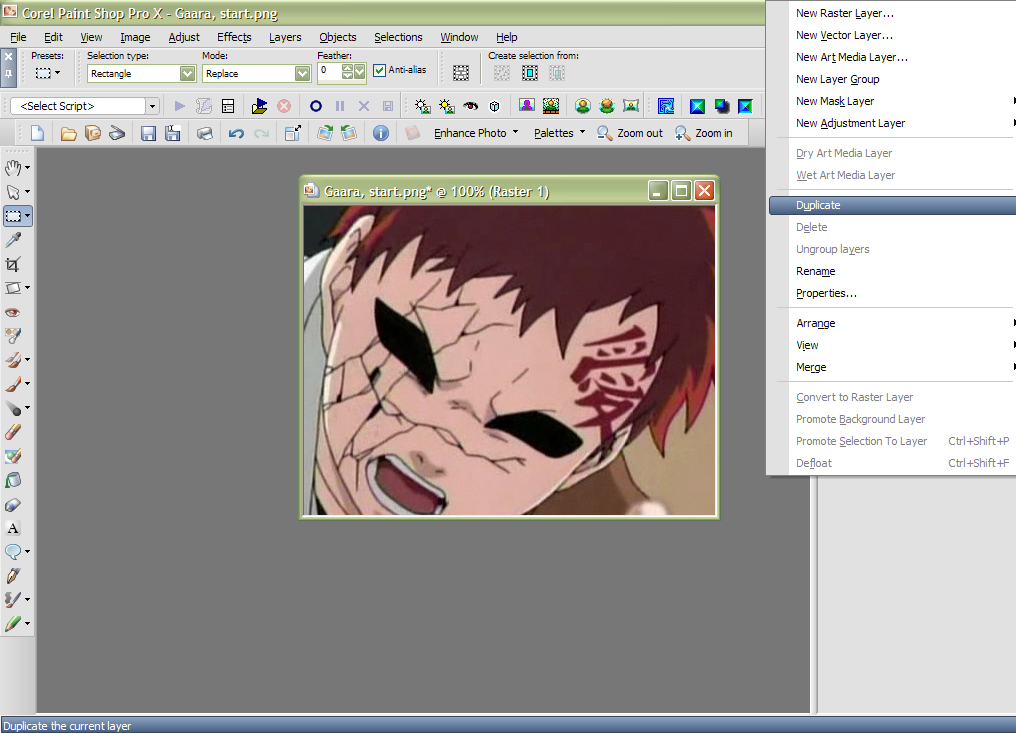 Now click on the "Gaussian Blur" icon. Make sure the top layer is selected when you do this. Choose either "5" or "8" as the radius. 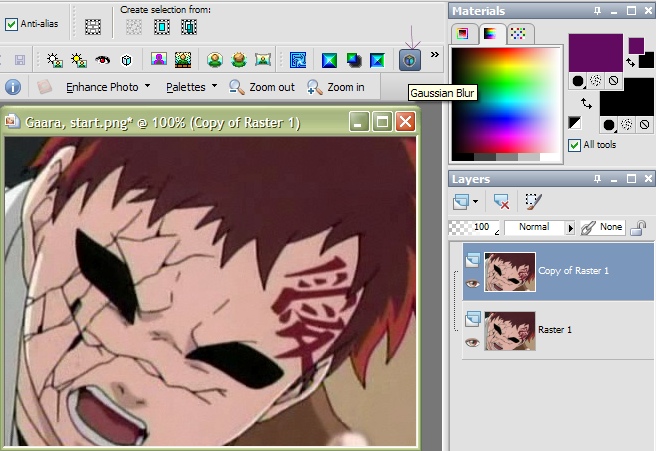 Nearly done ^^. Now, select the layer that should be called "copy of raster 1" or "copy of background" and change normal into "Hard Light"  You should get something like this. Feel free to lower the transperancy to around 70 or so in order to change the lighting. Hard Light is the one that changes the image the least overall, but still improves the quality well. Feel free to use other options such as "screen" or "Overlay" if you feel like experimenting. Hope this tutorial helped you.  63% Opacity |
|
fallen
New Member
 [M:0][P:30]
Posts: 4
|
Post by fallen on Jun 27, 2007 7:28:05 GMT -5
ooooh, smart.. XD
For Photoshop CS users, there's also the Sharpen tool.
Filter >> Sharpen >> Sharpen.
You can usually do it right on the image, but if it's too much for you, you can also duplicate your image and sharpen the duplicate. Then, change the opacity of the sharpened duplicate.
|
|


